How to Paint Over Wallpaper: A Complete Guide for UK Homeowners
Painting over wallpaper is a topic that divides many decorating enthusiasts. Some professionals swear against it, while others acknowledge it as a practical solution in certain circumstances. If you’re facing dated wallpaper and dreading the thought of stripping it all off, this comprehensive guide will help you understand when painting over wallpaper is appropriate and how to achieve professional results.
When Should You Consider Painting Over Wallpaper?
Before diving into the how-to, it’s essential to understand when painting over wallpaper makes sense. This approach isn’t suitable for every situation, but there are circumstances where it becomes the most practical choice.
Painting over wallpaper is advisable when:
- The wallpaper is firmly attached to the wall with no peeling edges or bubbles
- The walls underneath are in poor condition and stripping might cause damage
- You’re dealing with multiple layers of old wallpaper that would be extremely difficult to remove
- Time constraints make complete removal impractical
- The wallpaper has a relatively smooth texture
You should avoid painting over wallpaper when:
- The wallpaper is peeling, bubbling, or showing signs of moisture damage
- There are heavily textured or embossed patterns that will show through paint
- The wallpaper is vinyl or has a glossy, non-porous surface
- You’re planning to sell your home soon, as buyers often prefer clean walls
- The wallpaper is in a high-moisture area like a bathroom
Preparing Your Room for the Project
Proper preparation is crucial for achieving professional-looking results. Taking time at this stage will save you headaches later and ensure your painted wallpaper looks fantastic for years to come.
Clear the space
Remove all furniture from the room or move it to the centre and cover with dust sheets. Take down curtains, light fixtures, and any wall decorations. Remove switch plates and outlet covers, storing screws safely for later reinstallation.
Clean the walls thoroughly
Wallpaper accumulates dust, grease, and grime over the years. Use a solution of warm water and sugar soap to clean the entire surface. Pay particular attention to areas near kitchens or fireplaces where grease and soot may have accumulated. Allow the walls to dry completely before proceeding.
Repair any damage
Inspect the wallpaper carefully for any defects. Secure loose edges using wallpaper adhesive or PVA glue, pressing firmly and allowing to dry. Fill any small tears or holes with a lightweight filler, sanding smooth once dry. For seams that are lifting, apply adhesive underneath and use a seam roller to press them flat.
Essential Tools and Materials
Gathering everything you need before starting will make the project run smoothly. Here’s your complete shopping list:
Tools:
- Paint rollers and sleeves (medium pile for smooth surfaces)
- Angled cutting-in brush
- Paint tray
- Sandpaper (120-150 grit)
- Filling knife
- Dust sheets
- Masking tape
- Step ladder
- Clean cloths
Materials:
- Oil-based or shellac-based primer
- Quality emulsion paint in your chosen colour
- Lightweight filler
- PVA glue or wallpaper adhesive
- Sugar soap
Step-by-Step Guide to Painting Over Wallpaper
Step 1: Test a Small Area First
Before committing to the entire room, test your approach in an inconspicuous area. Apply primer to a small section and allow it to dry completely. Check for any bubbling, peeling, or texture issues. If problems occur, you may need to reconsider your approach or address underlying issues first.
Step 2: Apply the Right Primer
This step is absolutely crucial and should never be skipped. The primer creates a barrier between the wallpaper and your paint, preventing moisture from reactivating the wallpaper paste and causing bubbles.
Choose your primer carefully:
- Oil-based primer provides excellent adhesion and stain-blocking properties but has strong fumes and requires longer drying times
- Shellac-based primer dries quickly and offers superior stain blocking but is more expensive
- Water-based primer is not recommended as it can reactivate wallpaper paste
Apply the primer evenly using a roller for large areas and a brush for cutting in around edges. Ensure complete coverage with no missed spots. Allow to dry according to manufacturer instructions, typically 24 hours for oil-based primers.
Step 3: Address Any Issues After Priming
Once the primer has dried, inspect the walls again. The priming process sometimes reveals issues that weren’t visible before. Sand down any raised seams or texture that has become more prominent. Fill any imperfections that have appeared and sand smooth once dry.
Step 4: Apply Your First Coat of Paint
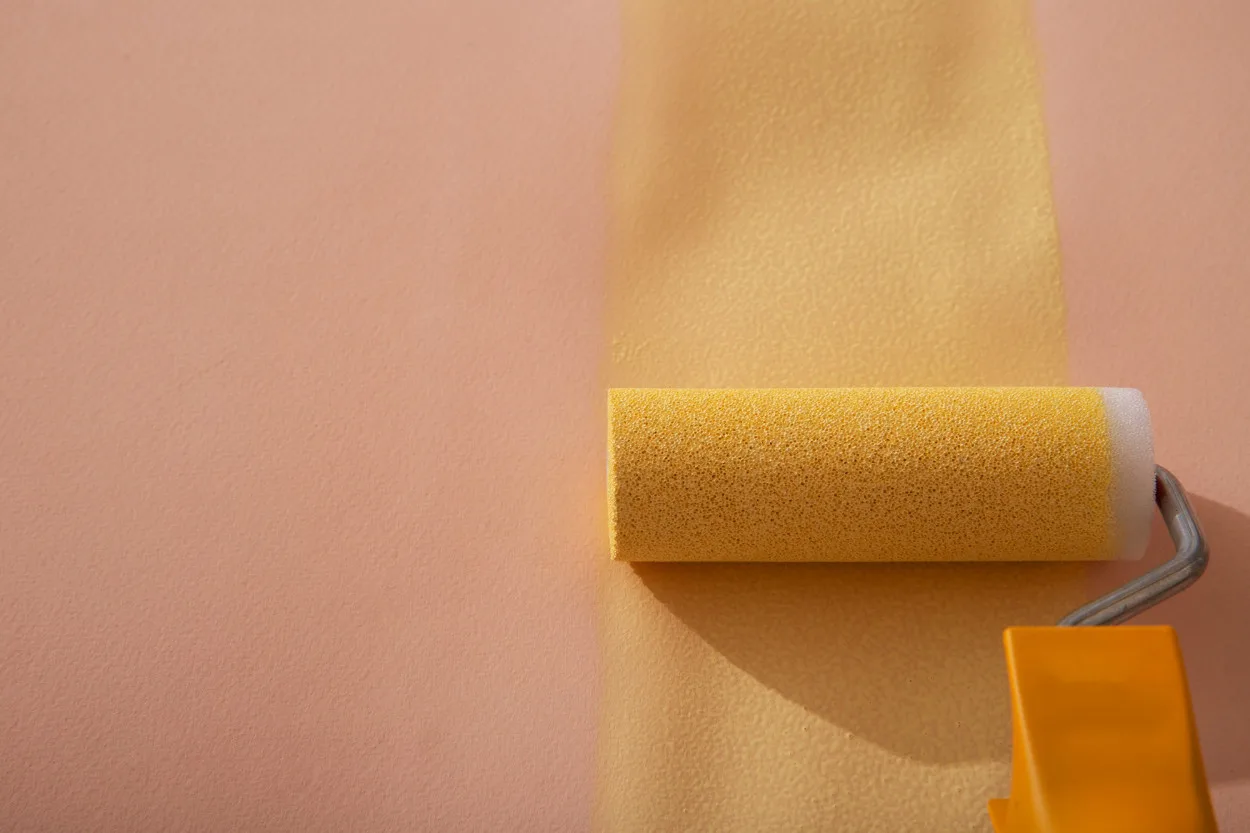
With your walls properly primed and prepared, you’re ready for paint. Choose a quality emulsion paint in your desired colour. Using a brush, carefully cut in around all edges, corners, and obstacles. Then use a roller to apply paint to the main wall areas, working in a W-pattern for even coverage.
Step 5: Sand Between Coats
After the first coat has dried completely, lightly sand the entire surface with fine-grit sandpaper. This helps the second coat adhere better and reduces any texture from brush strokes or roller marks. Wipe away all dust with a damp cloth and allow to dry.
Step 6: Apply Final Coats
Apply a second coat of paint using the same technique as before. For the best results, most projects require two to three coats of paint. Each additional coat improves coverage and durability. Allow proper drying time between each coat as specified by the paint manufacturer.
Common Problems and How to Solve Them
Even with careful preparation, issues can arise. Here’s how to handle the most common problems:
Bubbling after painting
If bubbles appear, the moisture from the paint has likely reactivated the wallpaper paste. Allow the area to dry completely, then carefully cut the bubble with a sharp blade, apply adhesive underneath, and press flat. Touch up with paint once dry.
Seams showing through paint
Visible seams are difficult to eliminate entirely but can be minimised. Apply a thin layer of filler over the seams, feathering out the edges. Sand smooth and apply additional primer before repainting.
Texture showing through
Heavily textured wallpaper will always show some pattern through paint. If this bothers you, consider applying a skim coat of plaster over the entire surface before painting, or accept that some texture adds character.
Tips for Professional-Looking Results
Invest in quality materials
This isn’t the project to economise on paint and primers. Quality products make application easier and provide better, longer-lasting results.
Take your time
Rushing through preparation or not allowing adequate drying time between coats will compromise your results. A professional finish requires patience.
Maintain consistent technique
Use the same pressure and pattern throughout each coat for even coverage. Overlap your roller strokes slightly to avoid visible lines.
Work in good lighting
Set up additional lighting to help you spot missed areas or imperfections while the paint is still wet and easy to correct.
Keep a wet edge
Work in manageable sections and always maintain a wet edge to avoid lap marks where wet paint meets dry paint.
Alternative Options to Consider
If painting over wallpaper isn’t suitable for your situation, consider these alternatives:
Professional wallpaper removal
Sometimes the best solution is proper removal. Professional decorators have tools and techniques to remove wallpaper efficiently with minimal wall damage.
Lining paper
Applying lining paper over old wallpaper creates a smooth surface for painting. This adds an extra step but can provide better results for problematic walls.
New wallpaper
If your walls are suitable, applying new wallpaper over old can refresh your space. This works best when the existing wallpaper is smooth and firmly attached.
Expert Wallpapering Services by TM Decorating
While painting over wallpaper can be a satisfactory DIY solution, sometimes the best results come from professional intervention. For homeowners in London seeking expert wallpapering and decorating services, TM Decorating offers exceptional craftsmanship and attention to detail.
Based in London, TM Decorating specialises in professional wallpaper hanging services across the capital. Their team of experienced decorators understands that wallpapering requires precision, patience, and expertise that comes only from years of practice. Whether you’re looking to install new designer wallpaper or need old wallpaper professionally removed before redecorating, their skilled craftsmen deliver outstanding results.
TM Decorating handles all types of wallpaper, from simple printed designs to complex patterns requiring careful matching. They work with luxury wallpapers, textured materials, and delicate coverings that demand specialist handling. Their service includes thorough wall preparation, ensuring the surface is perfectly smooth and primed before any wallpaper is applied.
For London homeowners who want to avoid the challenges of painting over wallpaper altogether, TM Decorating offers complete wallpaper removal services. Their team uses professional-grade steamers and techniques to strip old wallpaper efficiently while protecting the underlying plaster. This allows for a fresh start, whether you choose to have new wallpaper installed or prefer freshly painted walls.
To learn more about their wallpaper hanging services in London or to request a quote for your decorating project, visit their website at https://tmdecorating.co.uk/wallpaper-hanging-london. Their friendly team is ready to discuss your requirements and help transform your space with beautiful, professionally hung wallpaper.
Whether you decide to paint over your existing wallpaper or opt for professional wallpapering services, the key to success lies in proper preparation and using the right techniques. Take your time, use quality materials, and don’t hesitate to call in professionals when a project exceeds your comfort level. Your walls will thank you for it.


