90 cm Cooker Hood Installation Tips for Maximum Performance
Introduction
Maintaining a clean, healthy, and comfortable cooking environment—especially in busy households—requires adequate kitchen ventilation. Because it provides more coverage and more powerful extraction capabilities, a 90 cm cooker hood is a popular option for larger hobs and roomy kitchens. However, improper installation will result in subpar performance from even the most powerful cooker hood.
In order to assist homeowners and renovators in getting the most out of a 90 cm cooker hood this guide offers helpful and simple installation instructions. These tips can help you make the most of your kitchen ventilation system, from proper placement to airflow optimization. Reputable companies like CIARRA One build their cooker hoods to last, but long-term effectiveness depends on correct installation.
Why Correct Installation Matters
Smoke, oil, and cooking aromas are effectively removed when a 90 cm cooker hood is installed correctly. Noise levels can rise, and extraction efficiency can be greatly decreased by improper height, inadequate ducting, or limited airflow.
In addition to enhancing indoor air quality, a properly placed cooker hood shields kitchen cupboards, walls, and ceilings from grease accumulation. By lessening the load on the motor, it prolongs the appliance’s lifespan and improves comfort while cooking.
Choosing the Right Location
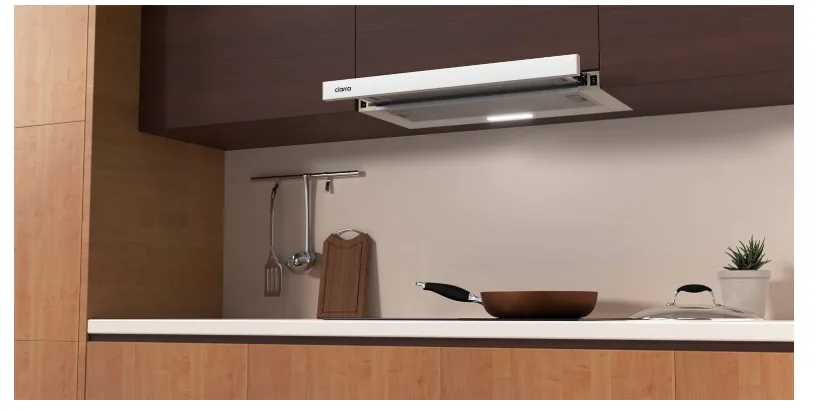
Choosing the right place is the first step in installing a 90 cm cooker hood. To efficiently absorb rising vapors, the hood should be positioned immediately above the hob. Performance may be lowered by smoke escaping due to misalignment.
Wall space and adjoining cabinets should also be taken into account. Proper ventilation and simpler maintenance access are made possible by adequate space surrounding the cooker hood.
Installing at the Correct Height
The performance of a cooker hood is greatly influenced by height. While installing the hood too low might interfere with cooking and provide safety hazards, installing it too high decreases extraction efficiency.
Installing a 90 cm cooker hood at the manufacturer’s suggested height—typically within a certain range above the cooking surface—will yield the best results. By following these recommendations, smoke and steam may be captured effectively without interfering with regular cooking tasks.
Optimizing Ducting for Better Airflow
Optimizing performance requires effective ducting. The ducting for your 90 cm cooker hood should be as short and straight as possible if it is operating in ducted mode. Airflow is restricted by long ducts or abrupt bends, which makes the motor work harder.
Noise and air resistance can be decreased by using smooth, premium ducting materials. Effective fume expulsion from the kitchen is ensured by correctly sealing all seams, which also stops air leaks.
Considering Recirculation Mode When Needed
Recirculation mode is a useful substitute for exterior ducting in kitchens when it is not feasible. The cooker hood in this configuration filters the air before redistributing it into the kitchen.
Carbon filters must be properly fitted and changed at the suggested intervals in order to preserve performance. Numerous CIARRA One models are made to function well in both ducted and recirculation modes, providing versatility for various kitchen configurations.
Electrical Connections and Safety
For dependable functioning, safe electrical installation is essential. The cooker hood has to be fitted in compliance with local electrical codes and linked to a reliable power source.
If you are unclear about the wiring requirements, hiring a professional installer is advised. Over time, a properly grounded connection lowers the possibility of electrical problems and guarantees smooth functioning.
Reducing Noise Through Smart Installation
Incorrect installation of a 90 cm stove hood may cause noise problems. Confined areas, loose fittings, or inadequate ventilation can raise vibration and sound levels.
Noise reduction may be achieved by making sure the hood is securely installed and the ducting is oriented appropriately. When installed correctly, the cooker hood can retain excellent extraction performance while operating silently.
Testing Performance After Installation
It’s crucial to do a comprehensive test on the cooker hood after installation. To guarantee even airflow, turn on all fan speeds. Then, listen for any odd sounds or vibrations.
Testing aids in the early detection of any problems, like loose fittings or airflow obstructions. Resolving these issues quickly guarantees dependability and long-term performance.
Maintenance Tips for Ongoing Efficiency
A 90 cm cooker hood’s performance is supported by routine maintenance. Carbon filters should be changed as needed, and grease filters should be cleaned often.
Maintaining a clean and well-maintained hood helps to keep the airflow steady and lessens the strain on the motor. This guarantees that your cooker hood will keep operating well for many years to come.
Conclusion
A 90 cm cooker hood is a great option for contemporary kitchens since it provides strong ventilation and extensive coverage. However, correct installation is crucial to getting the best performance.
Homeowners may benefit from effective, dependable, and quiet ventilation by properly situating the hood, maximizing ducting, making sure electrical connections are secure, and adhering to maintenance best practices. Long-lasting performance and a healthier kitchen atmosphere are ensured by selecting high-quality equipment from a reputable brand like CIARRA One and installing it correctly.