How I Turned My Photography Archive Into Scroll-Stopping Video Content
Three months ago I opened a folder on my desktop labelled “Best Shots 2025.” Inside sat four hundred photographs — portraits, landscapes, product stills — each one carefully edited, colour-graded, and filed away. Most of them had never been published anywhere. They were too good to delete but not quite right for the projects they were originally shot for. That folder had been growing for two years.
The problem wasn’t the photos themselves. It was relevance. Every platform I cared about — Instagram, TikTok, LinkedIn — had shifted its algorithm toward motion content. Static images were getting buried. A portrait that might have earned a thousand likes eighteen months ago now disappeared within hours, overtaken by even the most basic video clip. My archive felt like a museum nobody visited.
The Moment I Stopped Treating Photos and Videos as Separate Worlds
The turning point came when a client asked me to deliver “social-ready video assets” for a campaign — but the budget only covered a photo shoot. No videographer, no motion graphics artist, no extra production days. I had two options: turn down the deliverable or find a way to transform my still images into video.
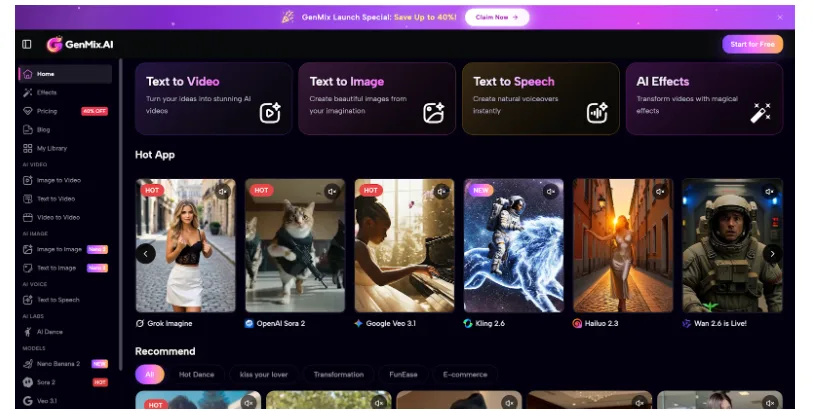
I started researching AI-powered image-to-video tools and eventually set up an account on GenMix AI after reading that it aggregated multiple generation models — including Veo 3.1 and Nano Banana 2 — through a single dashboard. Within my first afternoon I had converted twelve product photos into short animated clips — each one with natural camera movement, subtle lighting shifts, and convincing depth of field that made the original flat image feel three-dimensional.
That was the session that changed how I think about visual content entirely. What surprised me most wasn’t just the output quality — it was how different each AI model handled the same input image. One model excelled at cinematic camera movements while another produced more stylised, artistic interpretations of motion. Having access to multiple engines meant I could match the right tool to each creative brief.
What Actually Happens When AI Animates a Still Image
Before diving into workflow specifics, it helps to understand what the technology is doing under the hood. AI image-to-video generation doesn’t simply pan across your photo like a Ken Burns effect. Modern models analyse the spatial structure of your image — identifying foreground subjects, background elements, lighting direction, and depth layers — then generate new frames that simulate realistic motion between those elements.
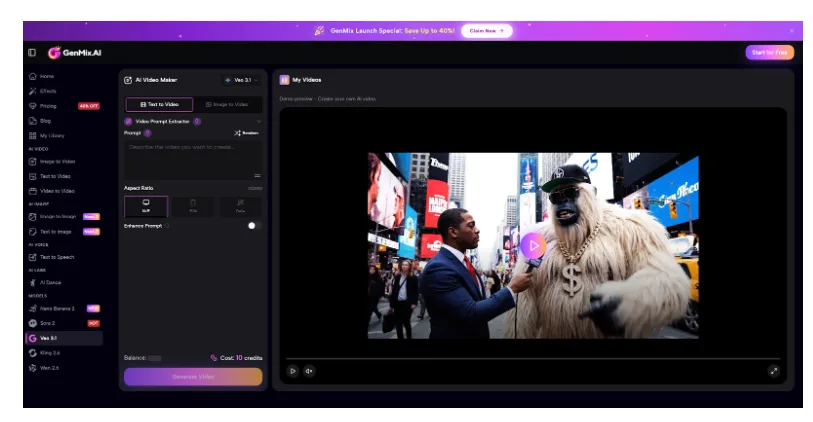
The result is genuine video footage derived from a single photograph. Hair moves slightly in simulated wind. Water ripples naturally. A product on a table catches shifting light. I found that Veo 3.1 handled cinematic camera movements particularly well — smooth dolly pushes and orbital pans that felt like they came from a gimbal, not an algorithm. The audio generation capability was an unexpected bonus — ambient sound that matched the visual scene added another layer of realism without any additional editing work.
Understanding this distinction matters because it changes how you prepare your input images. You’re not creating a slideshow — you’re giving an AI the raw material to generate something new. The better your source material, the more convincing the output becomes.
My Complete Image-to-Video Workflow: Five Steps That Consistently Work
After converting roughly three hundred images over the past three months, I’ve settled into a repeatable process that produces professional results about eighty percent of the time. Here’s exactly what I do.
- Select images with clear spatial depth — Photos with distinct foreground and background elements animate far better than flat compositions. A portrait with bokeh background gives the AI clear depth cues to work with. I specifically look for images where the subject sits at least a metre from the background
- Clean up any distracting elements — Small imperfections that are invisible in a still photo become obvious when the AI generates motion around them. I spend two minutes in Lightroom removing sensor dust, stray objects, or any compression artefacts before uploading
- Write a motion prompt that describes the movement you want — “Slow camera push forward with subtle hair movement, soft ambient wind” produces dramatically better results than uploading with no direction at all. I keep a prompt library organised by motion type: dolly, orbital, zoom, parallax
- Generate three to five variations — AI output is probabilistic. The first generation might nail the movement but miss the lighting. The third might be perfect. I always run multiple versions and pick the strongest. Sometimes I’ll try the same image across different models to compare results
- Post-process the output — I bring the best clip into DaVinci Resolve for minor colour matching to my brand palette, add subtle audio if needed, then export at platform-specific aspect ratios. Instagram gets 9:16, LinkedIn gets 16:9, and TikTok gets 9:16 with different framing
Total time per image: roughly eight minutes from upload to final export. Compare that to booking a video shoot, and the efficiency becomes impossible to ignore. For a batch of ten images, I’m looking at about ninety minutes of work including selection, generation, and post-processing.
Input Quality Rules That Took Weeks to Learn
Not every photograph converts well into video. After dozens of failed attempts, I’ve identified the input characteristics that consistently produce usable output versus the ones that waste your time.
| Input Factor | Works Well | Produces Poor Results |
| Resolution | 2000px+ on the long edge, sharp focus throughout | Compressed web images, heavy crops, or upscaled files |
| Depth of field | Shallow DoF with clear subject separation from background | Everything in focus at f/16 — the AI struggles to determine depth hierarchy |
| Lighting | Directional light with visible shadows and highlights | Flat, even lighting from all angles with no contrast |
| Composition | Subject positioned with breathing room around all edges | Tightly cropped — the AI has nowhere to generate camera movement |
| Subject matter | People, products, landscapes with natural elements | Abstract patterns, heavily stylised graphics, or text-heavy images |
| File format | PNG or high-quality JPEG from original RAW conversion | Screenshots, social media downloads, or multiply-compressed files |
The single biggest lesson: leave compositional breathing room. If your subject fills the entire frame edge to edge, the AI has no space to create camera movement without introducing visible distortion at the borders. I now shoot with AI conversion in mind, deliberately leaving fifteen to twenty percent extra space around my subjects.
Where Image-to-Video Fits in a Real Content Calendar
I now use AI image-to-video conversion as a core part of my weekly content production rather than a novelty experiment. For product and lifestyle shots I lean on Nano Banana 2 because its Gemini-powered image understanding produces contextually accurate results — it recognises product types, material textures, and environmental context in ways that make the generated motion feel intentional rather than random. Here’s how the workflow integrates into my actual schedule.
- Monday — I pull eight to ten images from my archive or recent shoots, selecting specifically for depth and motion potential. I tag each image with the type of motion I want: dolly, orbital, parallax, or atmospheric
- Tuesday morning — Batch upload and generate variations. This takes about an hour for ten images with three to five versions each. I typically use Veo 3.1 for cinematic shots and Nano Banana 2 for product imagery
- Tuesday afternoon — Review all generations, select winners, and do light post-processing in DaVinci Resolve. Colour matching, audio layering, and aspect ratio exports
- Wednesday through Friday — Schedule the video clips across Instagram Reels, TikTok, and LinkedIn alongside my regular photo posts. Each platform gets slightly different cuts optimised for its audience behaviour
The content mix that works best for my audience is roughly sixty percent original video clips from image conversion, twenty percent behind-the-scenes shooting content, and twenty percent static carousel posts. Before adding AI-converted video, my content was ninety percent static — and my reach was declining every month.
The Engagement Shift That Justified the Workflow Change
Numbers matter more than theory, so here’s what actually changed in my analytics after three months of consistent image-to-video content.
Instagram Reels created from converted photos averaged 4.2x the reach of my static posts over the same period. LinkedIn video posts earned roughly triple the engagement rate of image-only posts. The most surprising result was TikTok — a platform I’d written off as irrelevant for professional photography — where AI-animated product shots consistently outperformed my manually edited content.
The clips that performed best shared three characteristics: subtle, realistic motion rather than dramatic effects; footage length between four and eight seconds; and a clear subject that the viewer’s eye could lock onto immediately. Overcomplicated animations with multiple moving elements actually performed worse than simple, elegant camera movements. The audience responds to content that feels natural, not content that screams “this was AI-generated.”
Honest Limitations After Three Months of Daily Use
This workflow has genuinely transformed my content output, but I want to be transparent about where it falls short.
- Complex human motion is unreliable — Full body movement, dancing, or athletic action from a still photo produces inconsistent results. The technology excels at subtle environmental motion and gentle camera moves, not dramatic physical action. Stick to atmospheric and cinematic motion for the most reliable output
- Brand colour consistency requires manual correction — Generated video sometimes shifts colour temperature slightly from the original image. I always colour-match in post before publishing. Building a LUT based on your brand colours speeds this up considerably
- Audio is a separate consideration — While some models generate ambient audio, you’ll often want to add your own sound design, music, or voiceover to make clips truly platform-ready. I maintain a library of thirty ambient tracks organised by mood
- Not every image converts well — About twenty percent of my attempts produce results I wouldn’t publish. Accepting that failure rate and generating multiple variations is part of the workflow. The cost per generation is low enough that this ratio still makes economic sense
- Temporal coherence varies — Longer clips sometimes show inconsistencies in motion between the beginning and end. Keeping generations under eight seconds produces the most stable results
Despite these limitations, the ratio of publishable output to time invested is dramatically better than any alternative I’ve tested. The technology improves noticeably with each model update, and the limitations I listed six months ago would be different from today’s list.
Why This Matters Beyond Social Media Metrics
The deeper value isn’t just engagement numbers. It’s the ability to extract maximum creative value from work you’ve already done. Every photographer, designer, and content creator has an archive of strong images sitting unused. Transforming those assets into motion content means the original creative investment — the shoot planning, the lighting setup, the retouching hours — keeps generating returns long after the initial project ends.
There’s also a strategic advantage that most creators overlook. When you can produce video content from existing photography, you effectively double your content output without doubling your production time. A single photo shoot now yields both still images for portfolio use and video clips for social distribution. That compound efficiency changes the economics of creative work fundamentally.
That folder of four hundred unused photographs I mentioned at the start? I’ve now converted about a third of them into video content. Some of those clips have become the highest-performing posts in my entire portfolio. The images weren’t the problem — they just needed a different format to find their audience.