Angkorscape – Guest Post 01 – How 3D Landscape Design Keeps Your Budget on Track
Angkorscape
Most backyard projects do not go over budget because homeowners choose the wrong plants or pavers. They go over budget because decisions are made in the wrong order: a patio is sized before anyone checks how the family will use it, a fire feature is added after the gas line has already been priced, or a planting plan is drawn before drainage is sorted out. A three-dimensional design process changes that order. It puts the whole yard on screen, at real scale, before a shovel touches the ground, so trade-offs can be seen and priced while they are still easy to change.
That matters in the Greater Seattle area, where lots are often sloped, shaded, or tight, and where a design that looks good on a flat drawing can feel very different once you stand in it. A 3D model lets you walk the proposed paths, sit at the proposed table height, and see where afternoon shade will actually fall. For homeowners, the value is not the pretty picture. It is the chance to catch problems early, compare options honestly, and commit to a plan with far fewer surprises.
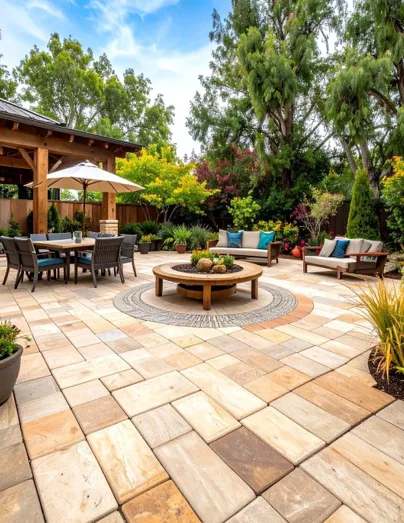
Illustrative stock image — not a photo of Angkorscape’s actual project.
Start with how you live, not with a product list
A useful design conversation starts with questions about daily life. How many people usually eat outside? Do you need a quiet corner for morning coffee, a play area that can be seen from the kitchen, or room for a grill and a smoker? Do children or pets use the yard every day? Do you want low-maintenance planting, or do you enjoy gardening? The answers shape everything that follows, from the size of a patio to the width of a path and the placement of lighting. When a designer from Angkorscape builds a model around those answers, the design reflects real use rather than a catalogue of features.
Budget enters the conversation at the same stage, not at the end. A realistic range should be discussed before materials are selected, and the model should be adjusted to fit it. That might mean choosing a simpler wall profile, phasing a water feature for a later season, or swapping a large expanse of stone for a mix of pavers and planting. Seeing those choices in 3D makes the trade-off concrete: you can tell whether a smaller patio still fits your table, or whether a cheaper material changes the look you wanted. A plan that respects the budget from the start is far more likely to be built as drawn.
Use the model to test views, light, and levels
Flat plans hide height. In a Seattle-area yard, height is often the whole story: a slope, a sunken seating area, a raised planter, or steps down to a lower lawn. A 3D view shows whether a retaining wall will block a view from the living room, whether a covered area will darken a kitchen window, and whether a path feels steep or comfortable. It also shows how a fence used as a landscape design element, such as a trellis panel that frames a garden room or a low screen that softens a boundary, can shape a space without becoming the focus of the project. These are details that are expensive to fix after construction and cheap to fix on screen.
Check materials and planting in context, not in isolation. A paver sample looks different under a maple tree than it does in a showroom, and a shrub that looks modest in a pot may grow to block a window in three years. A good model shows mature plant sizes, seasonal colour, and how materials sit next to the house itself. Ask to see the design from the rooms you use most, not only from above. If the view from the kitchen sink matters to you, say so. That is the view you will live with, and it deserves as much attention as the view from the street.
Turn the model into a clear scope and sequence
Once the design feels right, the model should translate into a plain-language scope: what will be built, in what order, and what is included at each stage. Grading and drainage usually come first, followed by structural work such as walls and footings, then hardscape, then planting and lighting. Knowing the sequence helps you understand why a project cannot simply start with planting, and why some changes cost more once a stage has passed. A phased plan is also easier to compare across bids, because every bidder is pricing the same defined work rather than their own interpretation of a sketch.
A practical way to review a 3D design is to walk through it with a short checklist. Can you reach every part of the yard without awkward steps? Is there storage for cushions, tools, and toys? Where does water go in a heavy rain? Is there shade where you will sit in summer and sun where you will sit in spring? Does the design leave room for a future feature, such as an outdoor kitchen, without tearing up finished work? If any answer is unclear, ask for a revised view before approving the plan. Revisions on screen are part of the process, not a sign that it has failed.
What to bring to the first design meeting
Bring a few practical items to your first design meeting and the conversation will be far more productive. A simple sketch of the lot, even a hand-drawn one, helps the designer understand proportions and access. Photos of the yard in different seasons, especially after rain, show drainage and shade patterns that a single visit may miss. A list of must-haves, nice-to-haves, and deal-breakers keeps the discussion honest, as does a clear statement of the budget range you are comfortable with. If you have a survey, a previous landscape plan, or information about easements and utilities, bring those too. The more the designer knows about constraints early, the fewer revisions the model will need later, and the closer the first priced plan will be to the final built project.
Conclusion: approve the plan, not just the picture
A 3D landscape design is worth the effort when it leads to a plan you can build, afford, and live with. It should show real dimensions, real levels, and real materials, and it should be tied to a budget and a build sequence you understand. Homeowners who take time to review the model from their own daily viewpoints, test the trade-offs, and agree the scope in writing tend to end up with yards that feel settled rather than patched together. If you are considering backyard remodeling services for Greater Seattle homes, start by asking how the design process will show you the finished yard before construction begins, and how changes to the plan will be priced along the way.