Creating Professional Product Mockups in Photoshop
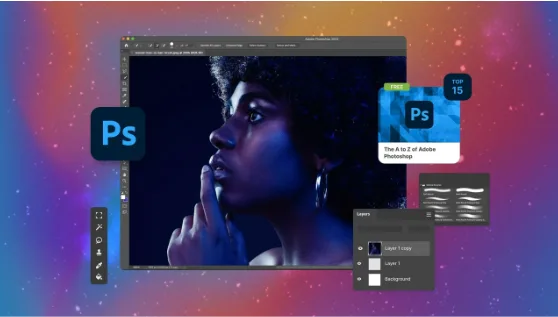
You spent hours designing a logo, a label, or a t-shirt graphic, and now it’s sitting on a plain white background. That’s not how a client or customer will ever see it in real life. A product mockup fixes that gap. It places your design onto a real object, in a real setting, so people can actually picture what it looks like when it’s finished.
What a Product Mockup Actually Does For Your Design
A mockup isn’t just decoration. It shows how your artwork behaves on a curved mug, a folded box, or a wrinkled shirt, instead of a flat rectangle. Buyers and clients trust what they can see in context far more than a design floating on white space.
Why a Flat Design Photo Doesn’t Sell the Same Way
Think about scrolling through an online shop. A flat PNG of a logo tells you almost nothing about the product. But a photo of that logo printed on a coffee mug, sitting on a wooden table with soft light hitting it, feels like something you could actually buy. That difference in trust is exactly why mockups exist.
The Core Tool: Smart Objects
Almost every professional mockup in Photoshop relies on one feature: the Smart Object. It’s the single most important thing to understand before you touch anything else.
How Smart Objects Keep Your Mockup Editable
A Smart Object is a layer that holds your image inside a protected container. You can resize it, warp it, or apply effects to the outer layer, and the original artwork inside stays untouched. Double-click the Smart Object thumbnail, drop in a new design, hit save, and Photoshop updates the mockup automatically, shadows, folds, and all.
A Common Mistake Beginners Make With Smart Objects
New users often skip converting their design layer into a Smart Object first. They place the artwork directly, flatten everything, then realize they can’t swap it out later without starting over. Right-click the layer and choose Convert to Smart Object before you do anything else. It takes five seconds and saves you an hour later.
Building a Mockup Step by Step
Once you understand the concept, the actual process is fairly short.
- Open a mockup template or photograph of the product.
- Select the area where your design will sit and convert it into a Smart Object.
- Double-click the thumbnail to open the internal file.
- Drag your artwork in, resize it to fit, then save.
- Return to the main file and check how it blends with the background.
Making the Mockup Look Real
This is where most of the visual quality actually comes from, not the design itself, but how believable the placement feels.
Shadows, Highlights, and Texture
If a shirt has wrinkles or a bottle has a curved highlight, your flat design will sit on top like a sticker unless you add those details back in. Set your artwork layer to Multiply or Overlay blend mode over a texture layer, and the original folds and shading show through naturally.
Matching Perspective So Nothing Looks Pasted On
A design that ignores the angle of the object never looks right, even if the colors are perfect. Photoshop’s Perspective Warp tool lets you drag the corners of your artwork to match the tilt of a box or the curve of a page, so it sits at the same angle as the surface underneath it.
Free Mockup Templates vs Building Your Own PSD Mockup
Not everyone needs to build a mockup from scratch every time.
| Option | Best for | Downside |
| Free mockup templates | Quick previews, social posts | Limited customization, generic angles |
| Custom PSD mockup | Client work, branding presentations | Takes longer to set up correctly |
If you’re short on time, sites offering free templates, like Freedesignkit, give you a decent starting point for common products like apparel and packaging. For anything going in front of a client, though, a custom PSD mockup built around their actual product photos looks far more convincing.
Common Mistakes That Make Mockups Look Fake
A few habits separate an amateur mockup from a professional one:
- Ignoring lighting direction, so shadows fall the wrong way
- Stretching the design instead of warping it to match the object’s shape
- Skipping texture overlays, leaving the surface looking flat and plastic
- Using a resolution too low for the final print or web size
When a Branding Mockup Needs Extra Care
A branding mockup often shows a logo across several products at once — business cards, signage, packaging. Consistency matters more here than in a single product shot. Keep lighting and color grading the same across every mockup in the set, so the whole presentation reads as one cohesive brand rather than several disconnected images. Adobe’s own documentation on Smart Objects is worth a look if you want the technical details behind how this layer type actually works.
Getting comfortable with these steps won’t take long. Once Smart Objects, shadows, and perspective click for you, building a convincing mockup becomes a routine part of finishing any design, not a separate skill you dread.