OBDSTAR DC706 Screen & Mainboard Replacement Guide
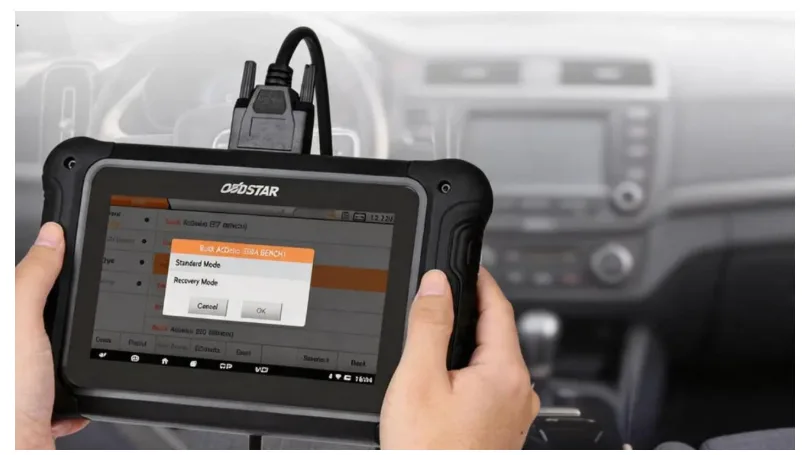
Comprehensive, step-by-step instructions for replacing the touchscreen, display unit, and motherboard on your OBDSTAR DC706 diagnostic tool. This guide is designed for technicians and advanced users who need to restore full functionality to their device.
When to Consider a Replacement
Replacing the screen or motherboard of the OBDSTAR DC706 is typically required when the device exhibits critical hardware failures. The most common indicator is a complete failure to power on—such as a persistent black screen even after the battery has been fully charged. Other symptoms might include unresponsive touch functions, display glitches, or system boot loops. This procedure is not for routine maintenance; it should only be performed when explicitly diagnosed as necessary.
Before starting, ensure you have a clean, well-lit workspace and the appropriate tools, including a precision screwdriver set and anti-static precautions to protect sensitive electronic components.
Step-by-Step Replacement Procedure
1. Disassembly & Preparation
Begin by removing the protective rubber sleeves from both sides of the main unit. Use a screwdriver to remove the four screws securing each sleeve. Carefully set the sleeves aside. Next, unscrew the four screws that fasten the outer shell of the device. Gently separate the front and back shells, being cautious not to strain any internal wiring.
2. Internal Disconnections
Once the shell is opened, locate and disconnect the two wiring ports indicated by the service arrows. These are typically power and data connections. Proceed to remove the screws fixing the motherboard in place. Carefully peel off any acetate tape that secures cable connectors—this tape protects connections from vibration and short circuits.
Detach the cable linked to the display screen (marked clearly) and remove the Wi-Fi antenna module. These steps are crucial to free the motherboard and screen assembly for removal.
3. Installing New Components
Begin installation with the new touch screen, which usually comes pre-assembled with the upper case. Insert the new display screen into its designated position, ensuring it sits flush. Position the new motherboard correctly into the shell’s card slots, aligning it with the mounting points.
Reconnect all cables and the Wi-Fi antenna within the red-marked frame. Secure these connections with fresh acetate tape to prevent loosening over time. Fasten the motherboard firmly with its screws.
4. Reassembly & Final Checks
Connect the power cord and speaker wire from the back shell to the corresponding ports on the motherboard (indicated by arrows). Carefully join the back and front shells together, ensuring no wires are pinched. Tighten the shell screws securely, then reattach the left and right rubber sleeves and their fixing screws.
Critical Post-Replacement Notes
After completing the hardware replacement, follow these essential guidelines to ensure proper device operation and support:
- Android Motherboard: If the device fails to start or shows abnormal behavior after replacing the Android motherboard, contact after-sales support immediately. Have your device’s serial number ready for faster diagnosis.
- Display/Screen: Should you encounter any display abnormalities—such as flickering, dead pixels, or touch inaccuracies—after screen replacement, reach out to technical support with your device’s serial number.
- VCI Motherboard: For VCI motherboard replacements, you must contact your dealer to synchronize your account information. Be prepared to provide the serial numbers of both the old and the new VCI motherboards to complete the process.
These steps help ensure your OBDSTAR DC706 is correctly registered and fully functional after repair.
Need Professional Assistance?
While this guide provides a clear path for DIY replacement, some situations may require professional handling. If you are unsure about any step or encounter unexpected issues, do not hesitate to contact OBDSTAR authorized service centers. They have the expertise and tools to perform these replacements with precision, safeguarding your investment.
Always keep your device’s serial number accessible, as it is the key to receiving efficient after-sales service and warranty support.