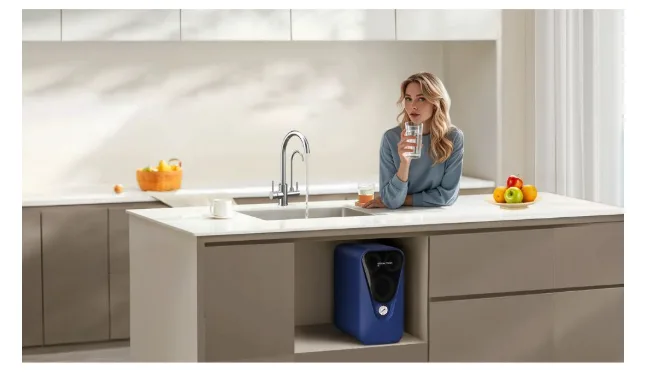
Reverse Osmosis Maintenance Guide: When and How to Change Your Filters
A reverse osmosis (RO) system is one of the best ways to get clean, safe drinking water. But even the best RO water filter won’t last forever without proper care. To keep your water fresh and your system working efficiently, it’s essential to understand when and how to change your filters. Whether you’re using a system at home or on the go with an RV water filter, this guide covers everything you need to know.
Why Does Reverse Osmosis System Maintenance Matter?
Your RO system relies on multiple filters working together to remove sediment, chlorine, heavy metals, and other harmful contaminants. Over time, these filters become clogged or exhausted, reducing their effectiveness.
If you skip maintenance, you might experience:
- A drop in water flow
- Strange tastes or odors in your water
- Poor filtration or bacterial buildup
- Long-term damage to the RO membrane or system
Regular upkeep ensures consistent water quality, extends the lifespan of your equipment, and protects your health.
How Many Filters Does a Typical RO System Have?
Most RO water filter systems feature a multi-stage setup, typically including:
- Sediment filter – Removes dirt, rust, and particles
- Carbon pre-filter – Reduces chlorine and organic chemicals
- RO membrane – Eliminates heavy metals, bacteria, and dissolved solids
- Post-carbon filter – Improves taste and odor
- (Optional) Remineralization or alkaline filter – Adds back healthy minerals
Some RV water filter setups are more compact but still include several of these key components. Understanding what your system includes helps you stay on top of its maintenance.
When Should You Replace Each Filter?
Each stage of your RO system has a different lifespan, depending on your water quality and usage. Here’s a general guide:
- Sediment Filter: Every 6 to 12 months
- Carbon Pre-Filter: Every 6 to 12 months
- RO Membrane: Every 2 to 3 years
- Post Carbon Filter: Every 12 months
- Remineralization Filter: Every 12 months
If you’re using an RV water filter, especially in different locations, you may need to change filters more frequently due to varying water quality from campground hookups or wells.
How to Know If Your Filters Need Changing?
Not sure if it’s time to swap out your filters? Watch for these signs:
- Slower water flow or lower pressure
- Unusual tastes or odors in the water
- Higher TDS readings (use a TDS meter to measure total dissolved solids)
- Indicator lights or maintenance alerts (on some smart models)
- Visible discoloration or dirt on pre-filters
If you’re traveling frequently with your rv water filter, carry extra filters and test the water often, especially if you’re unsure about the local source.
How to Replace RO Filters Step by Step
Changing your filters isn’t as hard as it sounds. Here’s how to do it:
- Turn off the water supply and storage tank valve. Open the faucet to release pressure.
- Unscrew the filter housings using a wrench. Be careful—some water may spill out.
- Remove old filters and insert new ones in the correct order.
- Screw housings back on, making sure they’re tight but not over-tightened.
- Turn water back on and check for leaks. Flush the system as needed (especially carbon filters).
- Discard the first few gallons of water to ensure the new filters are properly rinsed.
This process may vary slightly between models, especially for compact rv water filter systems designed for mobility.
Tips to Extend the Life of Your RO System
Maintaining your system goes beyond just changing filters. Here are some bonus tips:
- Clean your storage tank annually to prevent bacteria buildup.
- Use a water softener if your area has hard water—this protects your RO membrane.
- Add a sediment pre-filter or booster pump if water pressure is low or water is especially dirty.
- Label filter change dates or set reminders to stay on schedule.
- For RV owners, flush the system after each trip and store it in a clean, dry place when not in use.
Investing in a high-quality RO water filter and pairing it with good maintenance habits can save you money and prevent costly repairs down the line.
Summary: Keep Your RO Water Filter Running Smoothly
Whether you’re using a built-in home system or a mobile rv water filter, regular maintenance is key to clean and great-tasting water. Replacing filters on time keeps your system efficient and ensures your water stays free of contaminants.
Make filter maintenance part of your water routine, and you’ll enjoy peace of mind with every glass. With the right tools, reminders, and occasional checks, your reverse osmosis system can serve you well for years to come.


