
Step-By-Step Guide On Dryer Vent Cleaning Mississauga
It is common to have debris and other dirt stuck on your dryer vent. Homeowners should clean their dryer vents at least once every year. One sign that your vent dryer needs cleaning is overheating. Homeowners should understand how to clean the vent dryer, whether doing it themselves or having it done by an expert.
Cleaning the vent dryer helps increase its efficiency and also minimizes the chances of fire hazards. The cleaning process is not complicated, and homeowners can do it themselves with the right guide. Here is a step-by-step guide on the process of dryer vent cleaning Mississauga.
1. Removing And Washing The Lint Trap
The lint trap is usually on the top of the dryer. In some rare cases, the lint trap is on the bottom of the appliance. This information is always available in the manual from the manufacturer in case you are still determining what to look for or where.
After you find your lint trap, remove it and start removing all the big lint pieces. After that, get a shop vacuum and carefully vacuum the interior of the lint trap. Get a thin hose attached to the vacuum to enhance easy access to the trap lint interior. You can access up to the bottom part of the lint trap housing with a thin hose.
It will also help if you use a brush which usually comes with the cleaning kit, to scrub the surfaces of the houses thoroughly. Every item on the kit comes with instructions on how to use it.
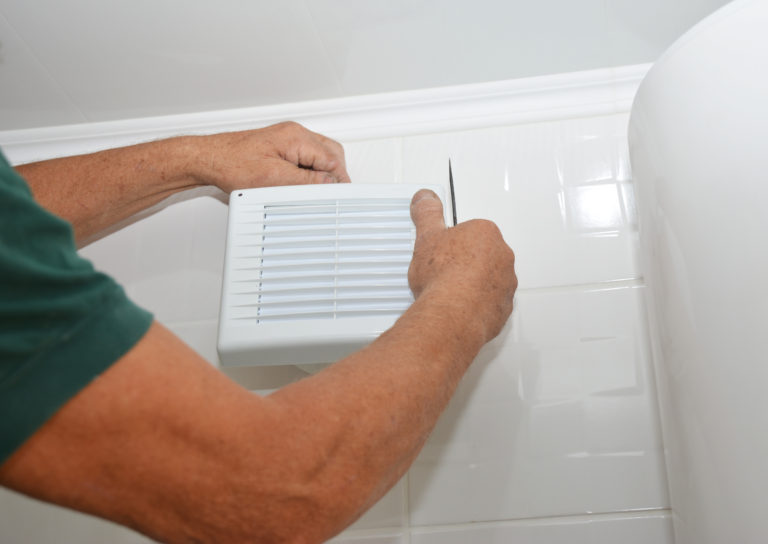
2. Identify The Dryer Vent.
There are two ends on the dryer vent that you need to identify before you go on with the cleaning process. The two ends are the indoor vent and the outdoor vent.
The manufacturer’s manual will direct you to where to find each end of your appliance. Once you have identified each, you can carefully proceed with the cleaning.
3. Disconnecting The Dryer
If you use electricity, unplug the appliance from the main switch, and if you use gas, disconnect the source of gas.
Please pull the dryer at least two feet away from the wall. This will help you easily access the end of the indoor vent. You can get help from a friend or family member if the appliance is too heavy to lift.
Carefully disconnect the dryer from the vent before you proceed to the next step. You can always get an expert to do the work if you find it complicated to do it yourself.
4. Vacuuming The Vent
There may need to be more than a hose to reach the furthest end of the vent, especially if it is long. In this case, it is always nice to get a cleaning kit since it comes with every kit you may need to clean the dryer vent under all circumstances.
5. Brushing Out The Vent
The dryer vent cleaning kit comes with a brush that you can use to scrub the dryer vent. The kit also has extensions to attach to the brush in the furthest parts of the dryer vent.
You can also attach the brush to the drill to deep clean the interior of the vent. If it is impossible to attach the brush to the drill, you may have to move it up and down and rotate it to clean it.
The brush collects all the debris, and you should be prepared to deal with the debris when you pull the brush out.
6. Vacuuming The Exterior Of The Dryer Vent
Most people assume that cleaning the dryer vent majorly involves the inside. This is, however, not the case, as cleaning the outside is as important as cleaning the inside.
If the slats are not moving freely, lubricate them before you move to the cleaning. Use a vacuum cleaner to collect any dust, hair, lint, and dirt that may be stuck on the vent entrance.
7. Brushing The Exterior Of The Dryer
To ensure that you have handled the cleaning of the entire vent dryer, use a cleaning brush on the outside as well.
Finish by sweeping up the debris that falls in the surrounding and finally reattach the dryer.