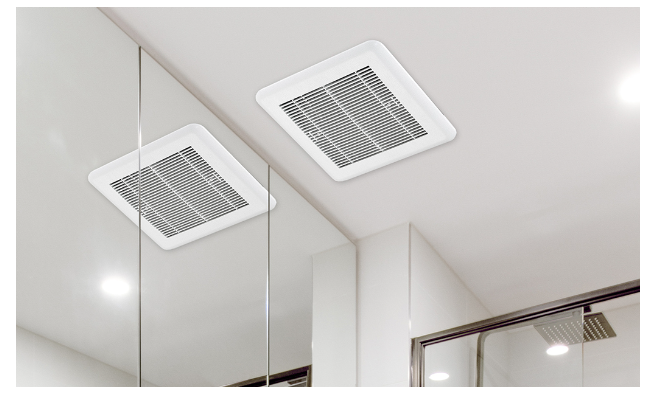
The Best Way to Clean a Bathroom Exhaust Fan
Before you begin the cleaning method, prepare the following needed materials:
- Tools
- Rags or sponges
- Screwdriver to remove the cover
- Pan, bucket, or sink for soaking
- Mild dish soap
- Shop vacuum or vacuum with attachments
- Microfiber cloth
- Flashlight
Mold and mildew may easily thrive in bathrooms due to the excessive humidity and dark illumination. The exhaust fan in your bathroom is a gorgeous spot where mildew, dirt, and grime may build, even though you can wipe each of them away as part of your regular cleaning process throughout your house cleaning in Los Angeles.
You run the risk of skipping a critical step in deep cleaning your house since these fans, which carry moist air from your bathroom outdoors, are frequently covered. To make sure you’re breathing a little easier whenever you use your bathroom exhaust, follow these instructions or hire a trustworthy handyman from a house cleaning service provider twice a year.
1. Remove the Power
Before you do the housekeeping process, go to your circuit breaker box and turn off the electricity to your bathroom, as you should whenever you are working with electricity. For the following step, you should have a flashlight on hand if your bathroom lacks natural light.
2. Taking off the Vent Cover
Your vent cover may be secured to the wall using screws, snapping mechanisms, or magnets. Whatever the method of attachment, you should carefully detach it and soak it in a cleaner using a tub of warm, soapy water while you work on the rest of the fan system.
3. Take the Fan Blades Out
Gently grab the fan and motor assembly within the fan’s housing. Remove it from the vent by carefully rotating them to the left (or counterclockwise) until it separates. You should put it somewhere secure and dry so you won’t knock it over by mistake.
You can use Step 4’s procedure with the fan and motor in place if your fan doesn’t come loose using this way.
4. Make the fan and housing clean.
Gently suction out any apparent dust, dirt, or debris with a vacuum cleaner attachment tiny enough to fit within the fan’s case. When finished, vacuum the removed motor and assembly. Next, use a soft cloth to deep cleaning the motor and blades.
5. Clean the Grates
Move on to the grate once you’ve cleaned out the fan. You might need to let it soak a little longer or use some elbow grease and a more abrasive sponge to remove stubborn dirt, depending on how dirty it is. Put it aside to air dry after giving it a good rinse in warm, clean water.
6. Verify That Everything Is Dry
Prior to putting your fan and motor back into the housing, everything needs to dry out. Use a dry microfiber towel to clean any items that might still be moist.
7. Reinstall the fan and motor.
Place the fan and motor back into the exhaust fan housing and turn it clockwise until you feel it connect. To do this, hold the fan and motor in the same manner as when you removed it. To ensure that the engine has firmly fastened to the mechanism, gently spin the fan. You can return the grate after it has dried.
8. Flip the Breaker
You may switch on the electricity to your bathroom once you’ve replaced all of the exhaust fan’s different parts. To verify that everything is functioning correctly once more, test the exhaust fan. If otherwise, go back to Step 7 and double-check that you completely twisted all of the fan and motor components into place and that nothing is blocking the fan blades from rotating.
Deep cleaning this device during your house cleaning in San Diego isn’t as difficult as it may appear, as you can see from the steps above; all you need is a little spare time, a few basic tools, and proper cleaners. Do this at the very least once or twice a year. By doing this, you’ll protect yourself from a variety of possible problems and stop dust from impairing the function of your fan or you can just.


